You are embarking on a project involving ionising radiation! Have you decided to create your own shielded radiology room (radiology or nuclear medicine centre, radioiodine treatment room) or do you plant to begin doing non-destructive testing? Here are the 4 steps to follow for your project:
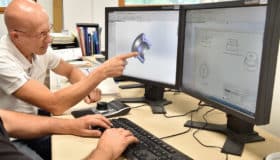
1 – Specifications
You may be wondering why you need to provide radiation protection at your site. The reason is simple: to ensure adequate protection for your staff and the general public in areas where your ionising radiation emitting equipment is used.
The specifications are a decisive factor for the success of your operation. Before you start creating your room, you must determine what radiation sources will be used, the technical characteristics and requirements, the plans of the facility, as well as the desired specifications. All these parameters determine the shielding requirements and must take into account the dose emitted, the distance between a person and the radiation source and the duration of exposure.
Throughout the project, the Radiation Protection Officer (RPO) will be your main contact person.
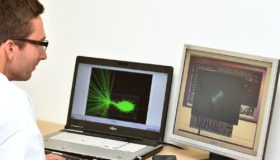
2 – Radiation calculations
The radiation protection calculations will first determine whether the project is feasible, and then determine the thickness and type of the biological protection required.
Placing materials between you and the radiation source reduces the amount of radiation that can reach you because some of it will be attenuated by the shielding material. The type and thickness of the material used will influence the effectiveness of the shielding, depending on how well it attenuates the radiation.
Several calculation methods can be used for radiation protection studies. At Lemer Pax, we use two methods:
Calculations using a direct beam radiation attenuation program (deterministic method)
Calculations using a Monte-Carlo type algorithm (stochastic method)
Note: the methodology differs depending on the radiation: X-rays, Alpha, Beta or Gamma rays, neutronics or other (deuteron, proton, heavy ions, etc.).
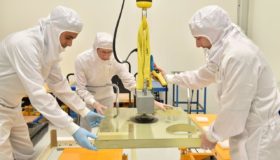
3 – Shielding
Third step: shielding. Once the radiation calculations have been approved, it is time to select the best solution for your project in terms of cost and technical requirements. In this respect, there are many solutions, both standard and custom.
The most commonly used shielding material against ionising radiation is lead. Lead can be used in a wide range of applications, and lead shielding comes in a variety of forms:
Decision No. 2014-DC-0463 on minimum technical rules for the design, operation and maintenance of nuclear medicine facilities.
The employer is responsible for protecting workers from occupational risks and must therefore ensure that the protection provided guarantees the safety of their staff, as well as their patients. This is why in France the installation must be certified by the French Nuclear Safety Authority (ASN).
Do you have a project in mind, or need advice on radiation protection? Don’t hesitate to contact us. Our team of experts will be happy to answer your questions!
Radioactivity in question Types of radiation and their penetration power Helium core: the alpha emission can be stopped by a simple sheet of paper Electron: the beta emission can be stopped by a few millimetres of aluminium Gamma: Gamma...
In preventing occupational hazards, radiation protection is the field in which the precautionary principle of ALARA (As Low As Reasonably Achievable) was first applied. It is one of the basic principles of protection against ionizing radiation. This precautionary, optimising principle...
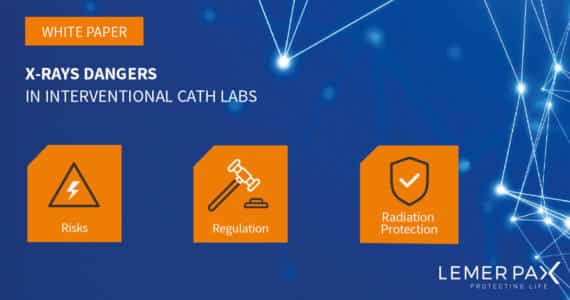
HOW TO OPTIMISE RADIATION PROTECTION OF INTERVENTIONAL CARDIOLOGY WORKERS FROM X-RAY DANGERS ? Although the benefits of catheter-guided procedures are certainly unquestionable in terms of patient health outcome, X-ray used during these interventions are extremely harmful to the operator. Great...
Lemer Pax and its partners use cookies or similar technologies and process personal data that can be crossed with information provided as part of our services for the following purposes: improving your user experience, carrying out audience statistics and studies to improve our offers, offer you services tailored to your interests, display targeted advertisements on our site or those of partners, measure the performance of these advertisements, use precise geolocation data, offer you functionalities relating to networks social, fight against fraud. Some cookies are necessary for the site and our services to work. You can accept, manage your preferences by purpose or continue browsing without accepting.